From Blueprint to Bounce-Back: Our Drywall Process for New Builds
Building a new home is an exciting journey filled with possibilities. While most homeowners imagine the finished spaces, few think about the crucial steps that turn bare studs into smooth, paint-ready walls. One of the most important of these steps is the drywall process.
From the first blueprint to the final coat of paint, each phase of drywall installation requires planning and professional care.
Here is a step-by-step drywall installation process.
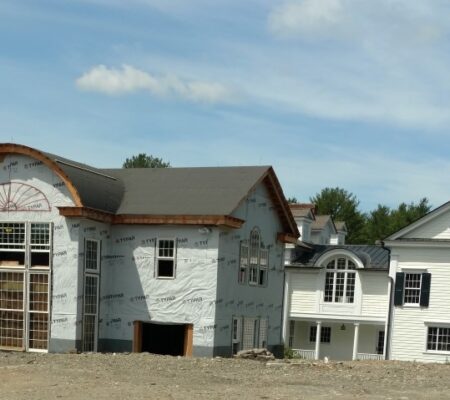
Site Preparation: Setting the Foundation Right
Workers inspect every stud and beam for proper alignment because wrong framing creates problems later.
Electrical and plumbing systems get final checks during this phase. Wires must be aligned properly behind outlets. Pipes need correct placement to avoid future problems.
Insulation comes next in most builds. Proper insulation keeps homes comfortable for many years. It also reduces noise between rooms significantly.
Hanging: Where Walls Take Shape
Drywall hanging transforms empty frames into actual rooms. Professional crews measure each piece carefully before cutting. Proper planning always helps in producing less waste.
Standard sheets measure four feet by eight feet in most cases. Crews start with full sheets whenever possible, and smaller pieces fill gaps and corners later.
Screws go into studs every twelve inches for proper support. The drywall process demands precise screw placement for long-term stability. We cannot go for loose sheets, which create cracks over time.
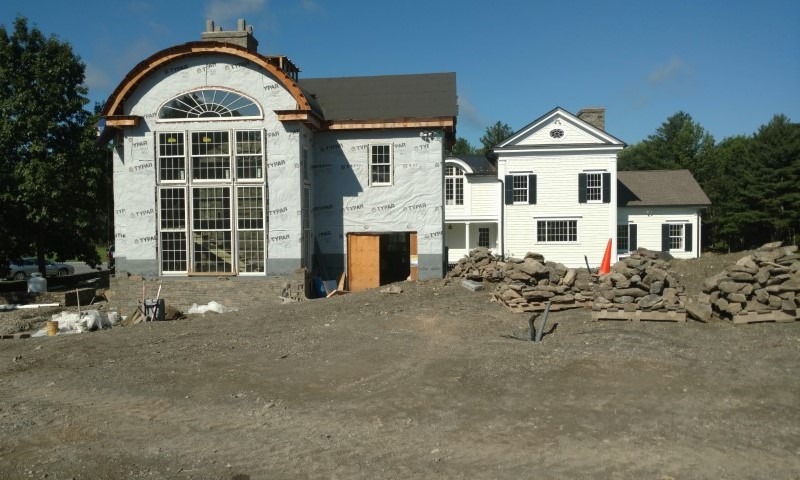
Custom curves and bullnose trim require special attention during hanging. Round walls need careful measuring and cutting.
Taping: Creating Seamless Connections
Taping joints between drywall sheets creates smooth, continuous surfaces. Paper tape works best for most standard joints, and mesh tape handles inside corners well.
- The first coat of mud goes over all tape and screws. This base coat fills gaps and secures tape properly. Drying time varies with temperature and humidity.
- Second coats get applied wider than the first layer. This technique feathers edges for smooth transitions. Skilled workers know exactly how much pressure to apply.
- Corner beads protect outside corners from damage over time. Metal beads work well for most applications, and perforated beads handle curved walls better.
Finishing: The Art of Perfect Walls
Final finishing separates amateur work from professional results. The third mud coat covers the widest area yet. Feathering extends twelve inches from each joint.
Sanding removes imperfections and creates smooth surfaces throughout. Fine-grit paper works best for final passes. Lastly, dust control protects other areas of the home.
Prime coating prepares surfaces for paint or wallpaper application. Proper primer seals the drywall and improves paint adhesion.
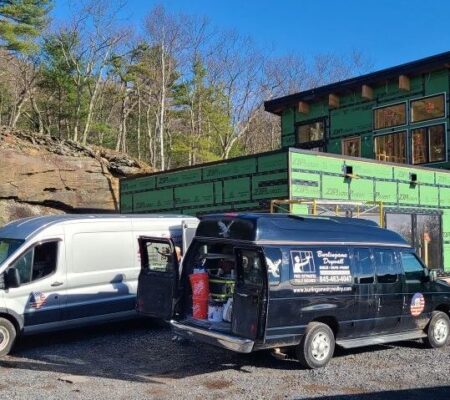
Clean Work Environment and Customer Care
Professional teams maintain clean work areas throughout every project phase. Dust gets contained and removed daily from work sites. Tools stay organized and put away properly.
The drywall process creates the foundation for beautiful interior spaces. Choose experienced drywall installers to protect investments and create lasting satisfaction.
Why the Professional Drywall Process is Important
Licensed drywall contractors carry proper insurance for homeowner protection. Workers’ compensation covers injuries that might occur on job sites. Liability insurance protects against property damage.
Quality materials make significant differences in final results. Professional-grade compounds dry harder and sand smoother. Cheap materials create problems that last for years.
Related Posts